How to make a pinewood derby car (and live to race it)
Read your pack's rules first. Cut a simple wedge, leaving the axle slots alone. Sand it, paint it, then add weight toward the back until the whole car weighs just under 5 ounces. Polish the axles, add graphite, mount the wheels straight and roll test it on the kitchen floor. The shape matters less than you'd think. The axles matter more than anyone tells you.
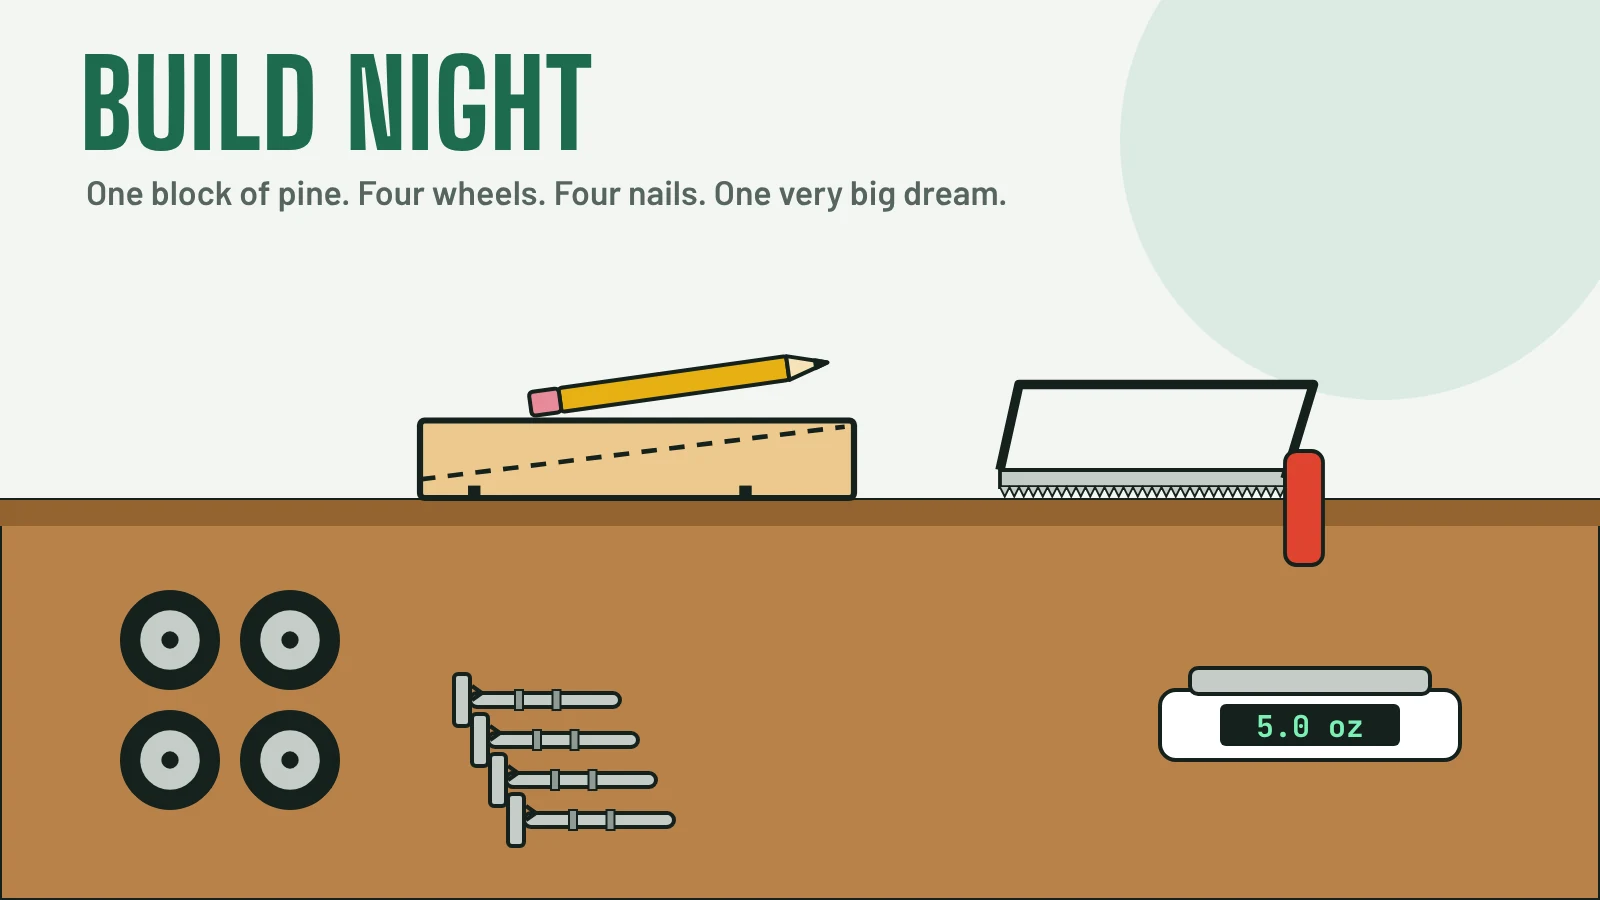
The kit came home in a little cardboard box. It held a block of pine, four plastic wheels and four nails that called themselves axles. My nephew Dwight, age eight, set it on the kitchen table and looked at it the way a man looks at a lottery ticket.
I looked at it differently, because I have built a pinewood derby car before. My first one was called the Comet. It finished last in every heat it ran, and in one it wasn't even entered in, which the race committee never fully explained. Since then I've learned a few things, mostly by doing them wrong first. What follows is everything I wish someone had told me before I handed an eight-year-old a saw and a dream.
Read the rules before you touch a saw
Every pack and club writes its own rules, and they all start from the kit. Before anybody cuts anything, find your pack's rule sheet and check these numbers. Most packs use something close to this:
| Rule | The usual limit |
|---|---|
| Weight | 5 ounces or less, wheels and axles included |
| Length | 7 inches or less |
| Width | 2¾ inches or less |
| Ground clearance | At least ⅜ inch under the body, so it clears the track's center strip |
| Wheels and axles | The ones from the kit. Wheels usually can't be cut, drilled or reshaped |
| Axle slots | Many packs require the kit's slots; some allow drilled holes |
The rule sheet also tells you about lubricant (usually dry graphite only), whether you can raise one front wheel, and whether the car has to be built this year. That last one exists because of men like my neighbor Orvel Tunk. Orvel has entered the same car in the adult race for eleven years, repainting it each season and calling it new. Nobody has the heart to say anything. The car is fast.
Pick a design you can actually cut
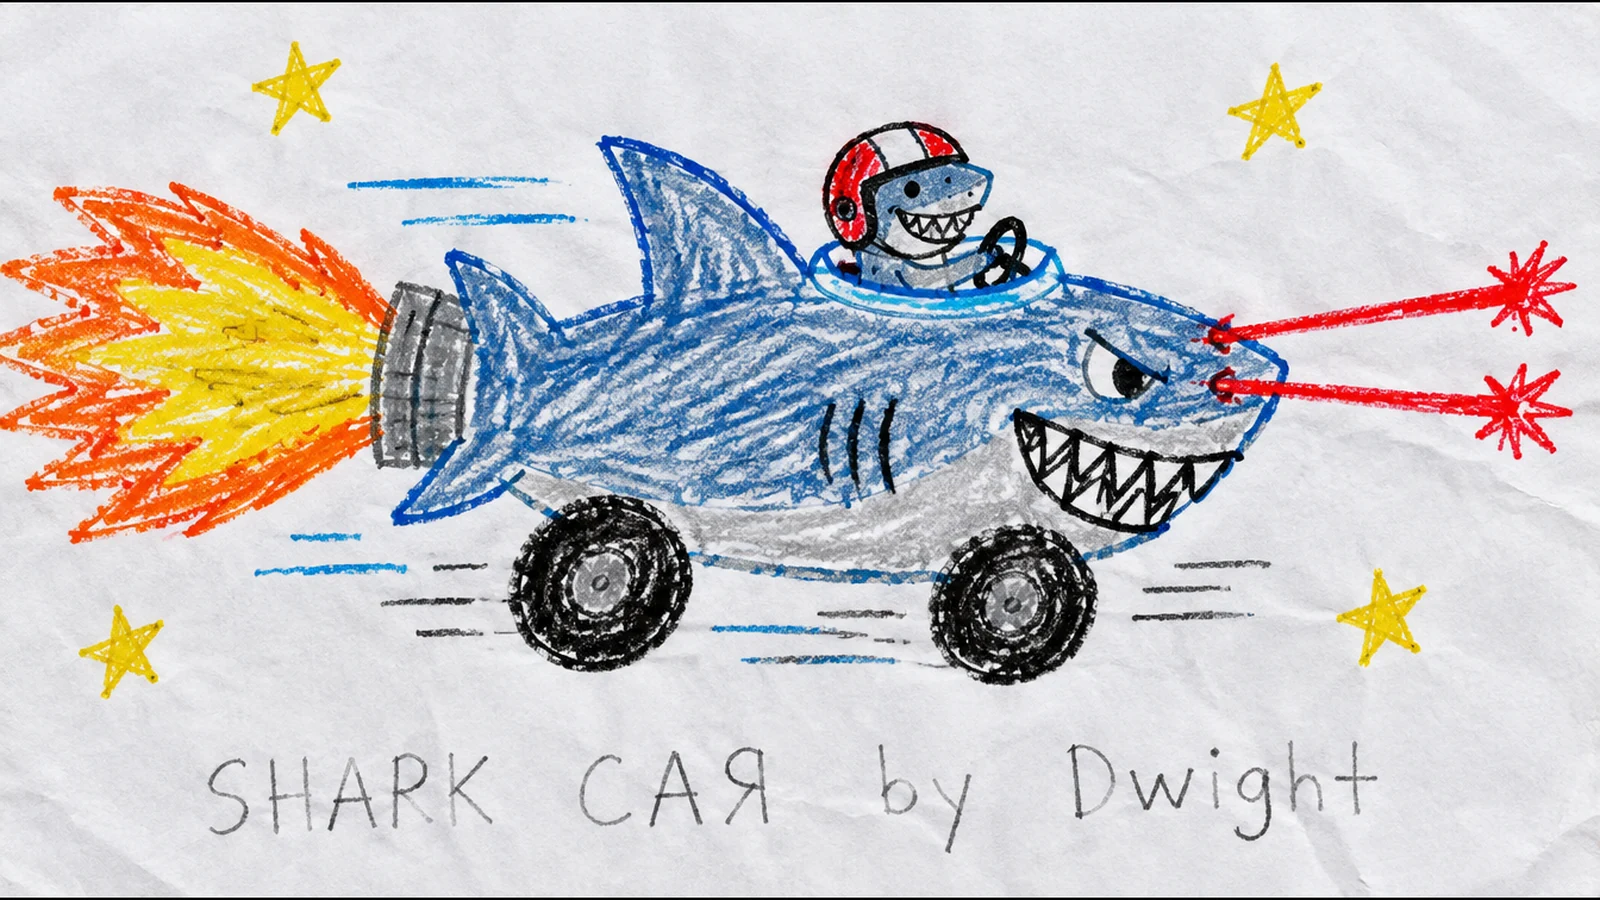
Dwight wanted a shark with a jet engine, lasers, and what he described as "a little guy driving it who is also a shark." I have been in negotiations with car dealers that went easier.
The honest truth is that shape matters less than almost everything else on this list. Orvel once explained why using a whiteboard, a protractor and more arrows than a cavalry charge, until his wife asked him to stop. The short version is this: a plain wedge, built carefully, will beat a beautiful shark built carelessly nearly every time. The wedge is one or two straight cuts, it leaves a fat back end to hold weight, and a kid can help cut it.
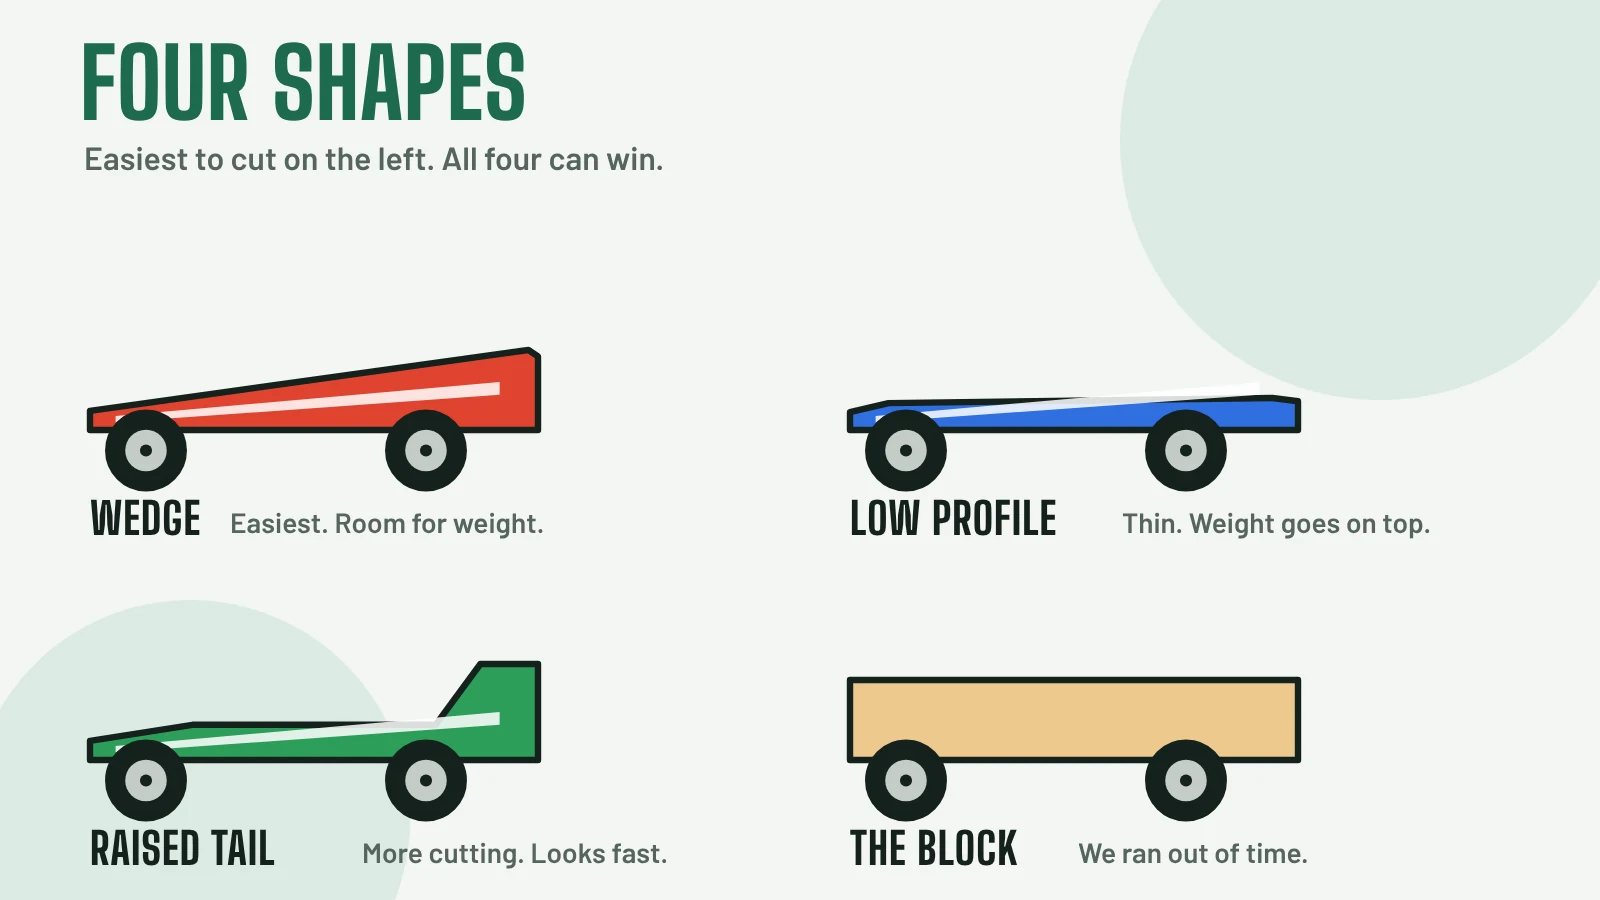
If your kid has their heart set on a shark, build the wedge first and make the shark out of the paint job. We put a fin on Dwight's car with a scrap of wood and some glue. The little shark driver was drawn on with a marker. Everyone was satisfied, including the shark.
Draw it, then cut it
Turn the block on its side and draw the shape on it with a pencil. Before you draw anything, find the two axle slots on the bottom and mark them clearly. The slots are not evenly spaced from the ends, so the block has a front and a back. Get this wrong and you have a car that drives backward, which Orvel says is a strategy but is not.
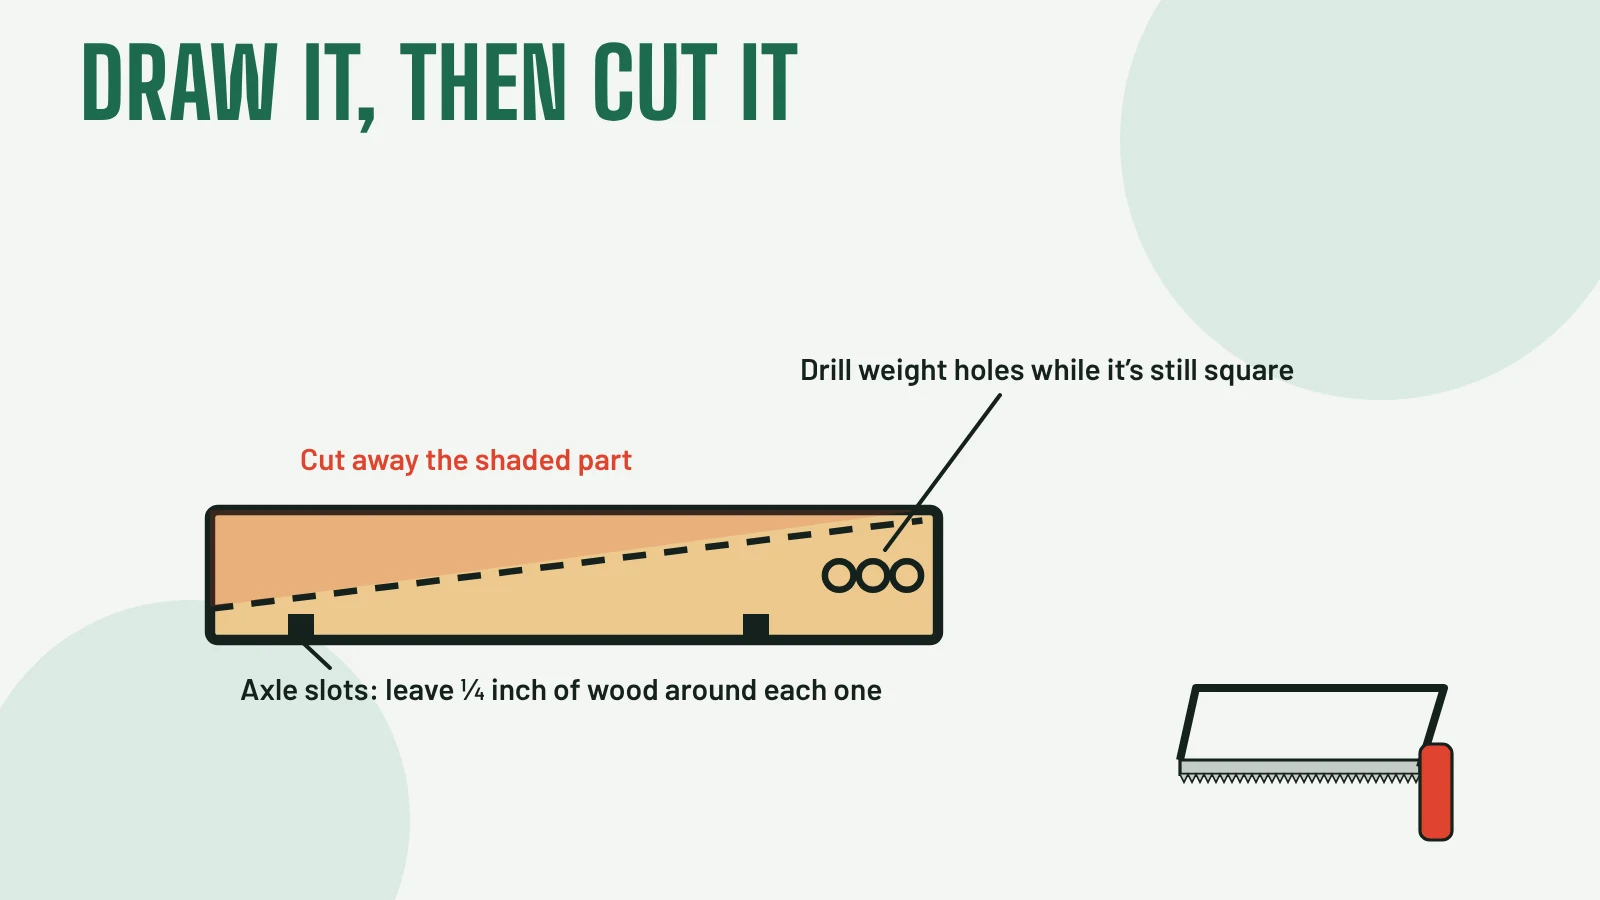
- If you plan to put weight in the back, drill those holes while the block is still a square block that sits flat. Three ⅜-inch holes side by side in the rear, drilled from the back or from the top, fit the usual tungsten cylinders. Drilling a finished wedge is like trying to give a cat a bath.
- Leave some wood around the axle slots. Stay at least ¼ inch away from each slot when you cut. Wood that thin cracks when you push the axles in.
- Grown-ups run the power tools. A coping saw lets a kid do real cutting with an adult holding the block. A band saw or scroll saw is faster and is for the adult only. Dwight regards safety goggles as a personal insult. He wore them anyway.
Sand it smooth
Start with 80-grit sandpaper to take off the saw marks, move to 120, and finish with 220. Wrap the paper around a block of wood for the flat sides so you don't sand everything into a bar of soap. Round off the sharp edges a little. They chip when the car hits the stop at the end of the track, and every car hits the stop at the end of the track.
Don't sand inside the axle slots. They were cut to hold the axles snug, and a slot sanded wider lets an axle wobble.
Paint before the weight goes in
Paint the body before you add weight and wheels. That way the weight doesn't get in the way and nothing gets glued shut by accident. A coat of spray primer, then two or three thin coats of color, gives a smooth finish. Thick coats run and take days to dry. Hold the can about a foot away and keep it moving.
Keep paint out of the axle slots. A bit of painter's tape over the bottom does it. And let it dry overnight before you handle it, a rule my household has tested from every direction. The fingerprints on the hood of Dwight's car are his and are now part of the design.
Add weight, and put it in the back
This is where races are won. A car weighing 5 ounces will beat a car weighing 4 nearly every time, so you want to finish as close to the limit as your pack allows. A cut and painted wedge often weighs well under 2 ounces with wheels and axles, so expect to add something like 3 ounces.
Where you put it matters as much as how much. Aim to have the car balance about three-quarters of an inch to an inch in front of the rear axle. A car with its weight in the back stays higher on the slope for longer, so it has more energy left when it reaches the flat. Push the weight much further back than that, though, and the front gets light, the car wobbles, and sometimes it hops the center strip. Ask me how I know. Actually, ask Orvel.
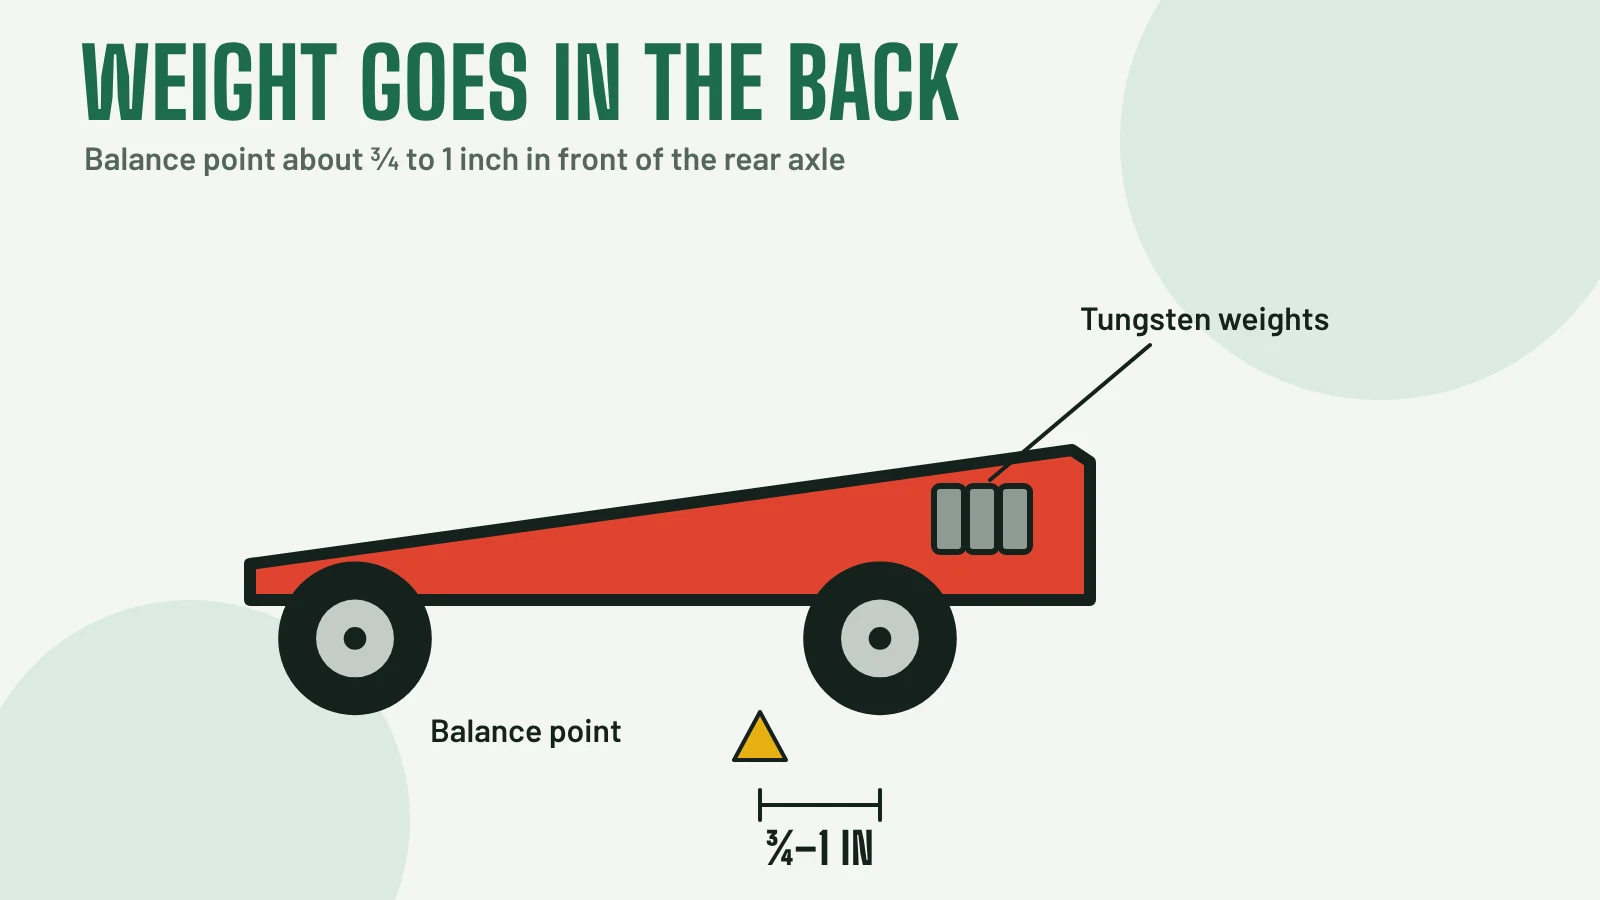
To check, lay a pencil on the table and set the finished car across it. Slide it back and forth until it balances. That spot is the balance point. Measure from there to the rear axle.
About the weight itself:
- Tungsten is the densest, so it takes the least room and lets you pack the weight exactly where you want it. It costs more.
- Steel or zinc weights are cheaper and take up more space. They work fine on a car with a thick back end.
- Lead is cheap and dense, but kids shouldn't be handling it, and some packs ban it. Skip it.
- Tungsten putty is your friend on race day. Leave a little shallow hole in the bottom for it, so you can press in the last tenth of an ounce at weigh-in.
Glue the weights in so they can't move. Loose weight is against most rules, and it rattles, and a rattling car sounds like it is about to lose, because it is.
Fix the axles and wheels
Here is the secret nobody tells you. The axles in the kit are basically nails. They have little ridges under the head and crimp marks on the shaft from the factory, and those rough spots rub against the wheel the whole way down the track. Smoothing them out is the single best thing you can do for speed.
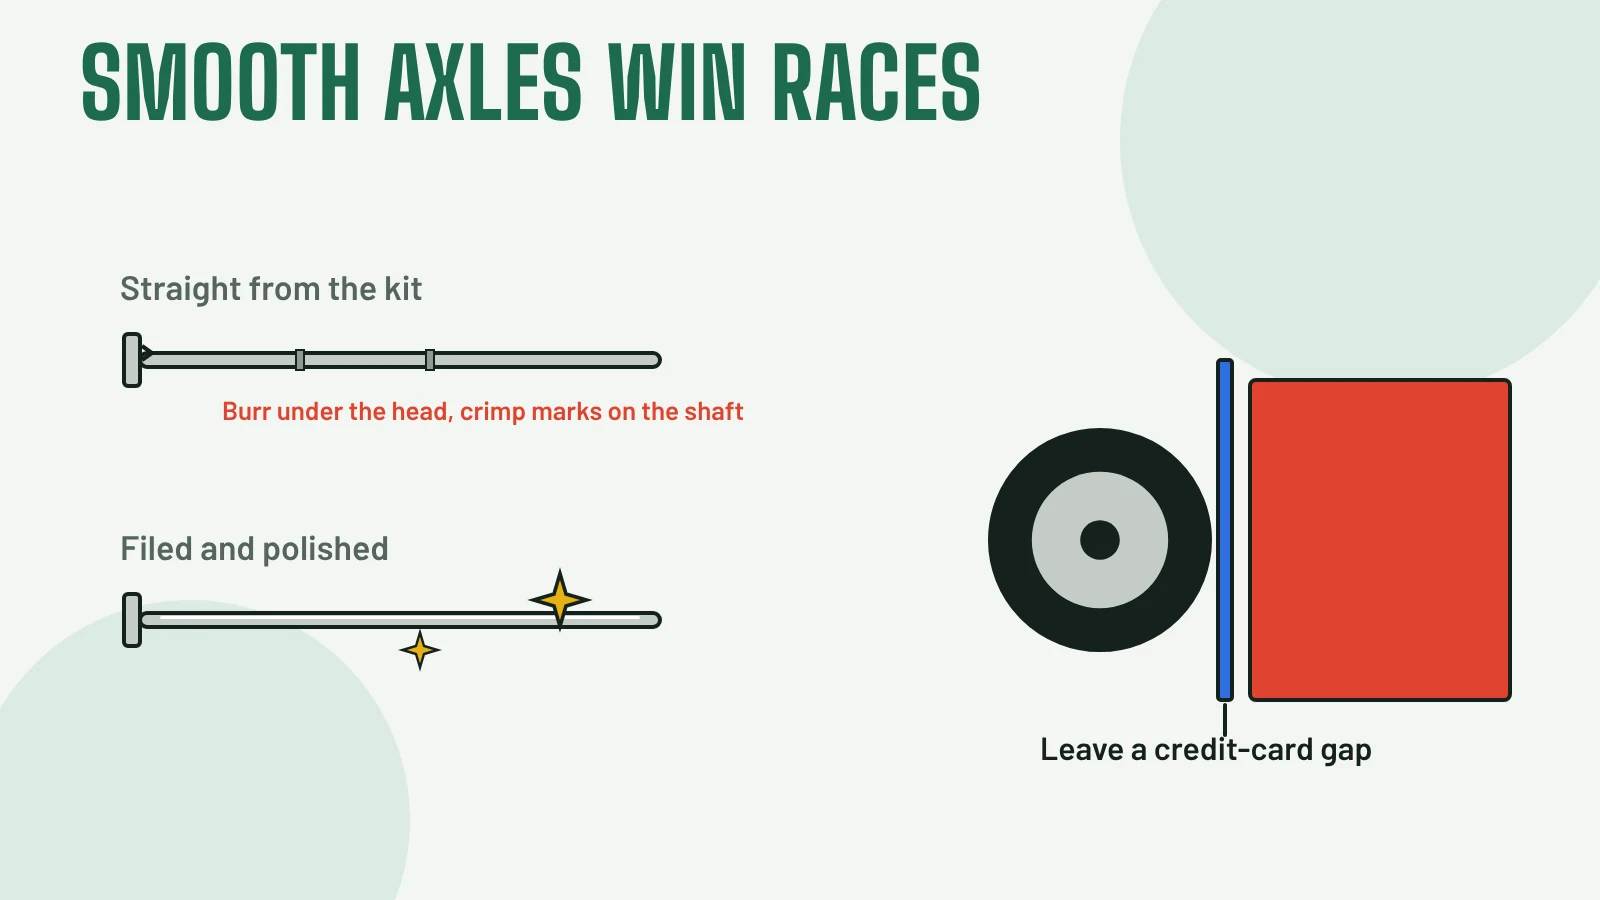
- Chuck the axle in a drill (an adult job) and spin it slowly while you hold a small file against the burr under the head and the crimp marks on the shaft.
- Still spinning, polish the shaft with wet sandpaper, working up from 400 grit to 1000 or finer, then finish with a little metal polish on a rag. It should shine like a mirror. Dwight said it looked like a tiny lightsaber, and I didn't argue.
- Check the wheels for a little bump of plastic left from the factory mold on the tread. Many packs let you remove that bump but nothing more. If your rules allow it, take it off lightly with fine sandpaper. Don't reshape the wheel.
- Work dry graphite into the wheel's center hole and onto the axle, spin the wheel a few dozen times, and add a little more. Do this outside. Graphite gets on everything. My kitchen is still faintly gray, like a crime scene for pencils.
Put it together and roll it straight
Push each axle into its slot, straight in, with the wheel on it. Leave a small gap between the wheel and the body, about the thickness of a credit card, so the wheel doesn't rub. If your rules allow it, a drop of glue in the slot keeps the axle from walking out.
Now the roll test. Find a smooth hard floor and give the car a gentle push. It should roll straight for at least four or five feet. If it curves, one axle is probably crooked. Pull it, straighten it, and try again. This is the part where you'll want to quit. Don't. A car that rolls straight wastes less of its speed rubbing against the center strip.
Some families go further and raise one front wheel just off the track, so the car rides on three wheels. It works if your rules allow it. Read the rule sheet before you try it.
Weigh-in night
Your kitchen scale and the pack's official scale won't agree. They never do. Get the car to about 4.9 ounces at home, then bring a pinch of tungsten putty, a toothpick, and the graphite. Top it up on the official scale.
After weigh-in, stop touching the wheels. Carry the car in a box, not in a coat pocket, and certainly not in the coat pocket of an eight-year-old who also has a yo-yo in there.
If you want to see what all this does before race day, try the car simulator. You can change the weight, the wheels and the shape and race the result. It's a good way to settle the shark debate without a single cut. And if you're the one running the race, the race day checklist covers the other side of check-in.
How it turned out
Dwight's shark took second in his den, losing only to a plain unpainted wedge built by a quiet girl named Marjorie who didn't say a word all night. That's how it goes. The fast cars aren't usually the fancy ones. They're the ones with smooth axles, the weight in the back and wheels that roll straight.
Orvel finished fourth in the adult race. He says next year is the year. He's already repainting.